There’s an online competition/exhibition round the corner. You might even have finished a piece that’s sold and interest is snowballing for the prints you hinted at earlier, during the “makings of”.
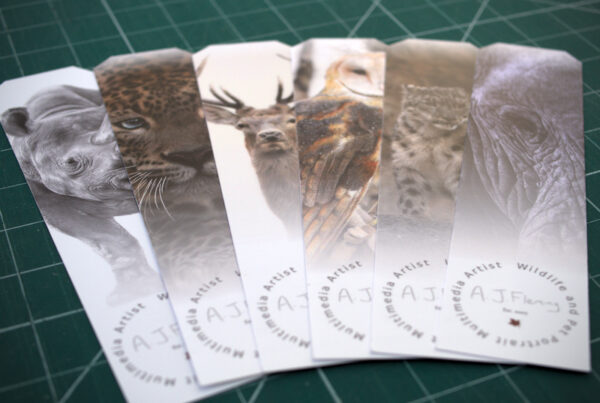
It’s also a good idea to collect good quality images of any work you do for advertising purposes. Or you might simply want to keep a catalogue of everything you’ve done, to which you might refer in ways unknown as yet (maybe even posterity).
Whatever your plans for pieces of work not simply handed, with minimal fanfare and obliged secrecy, directly to a commission customer, you’ll want to take a decent picture of it. The best possible, in fact!
I’m in the UK, currently under heavy restrictions due to COVID-19, and don’t have a professional setup for snapping my work, or access to the fine folk down at The Studio, whom I regularly use.
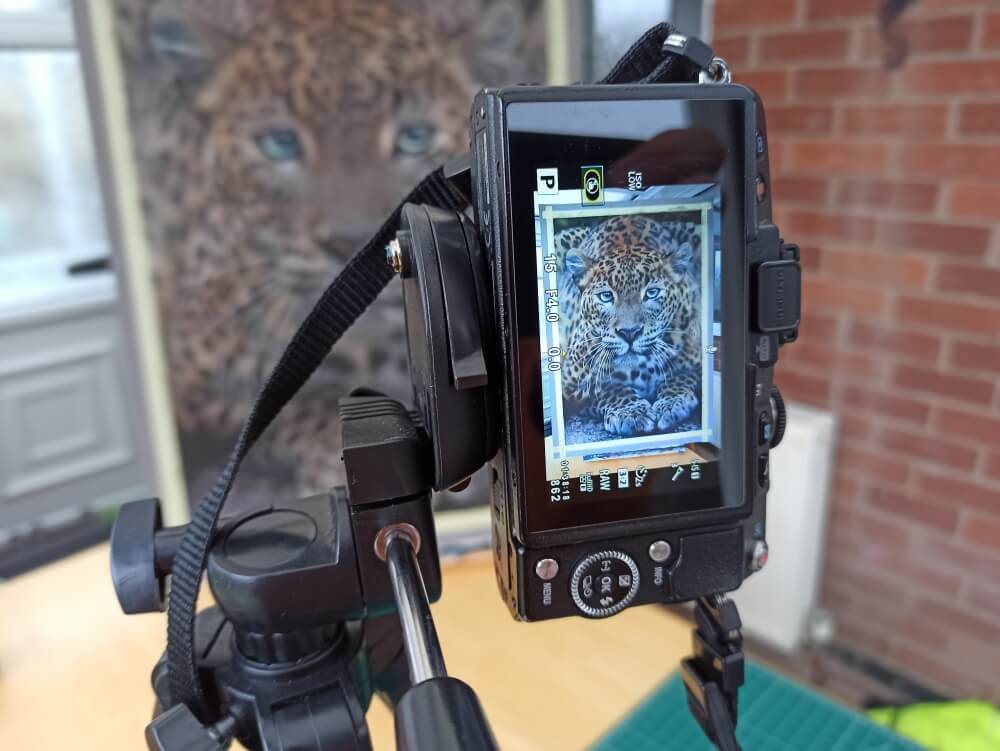
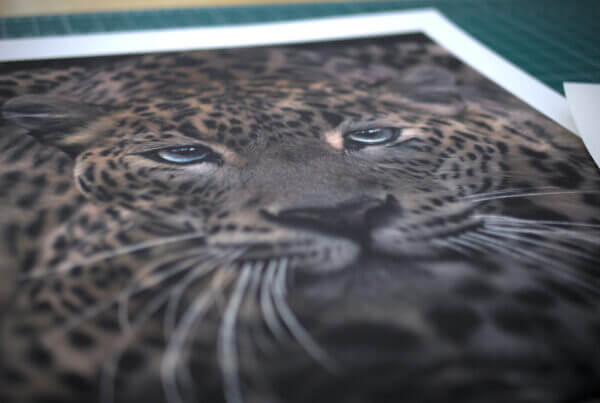
So, if I want to document my work as well as I can, and by a certain time, the onus is on me, and the equipment I have at my disposal. I have a competition deadline in a few weeks, so the time has come for me to do just this with my Sri Lankan Leopard, which I recently completed.
I’d love to have a lot of space, nice clean lines, no clutter, and everything else you think of when recalling any Instagram-ready image. But the ones in this post are emphatically not so. This is real life, and you’re probably here to figure out how to make the best with what you have, as is often my wont, too. So, here are some tips…
1. Take stock of the tools at your disposal.
The factors under your control, in varying degrees depending on your circumstances, are available soft light and camera stability. You need to gather everything that could possibly be regarded as photography-related and which you already own first, as certain equipment may help you manipulate the above factors to your advantage.
Consider:
- Lamps
- Tripod
- Moveable, stable surfaces
- Easel/stand
- White tissue paper
- Laptop/tablet screens.
2. Choose the type of day and space in which you’ll shoot.
Use a time of day when the most natural light is available. Direct sunlight hitting the piece is a big no, as much of it will end up being over-exposed and lacking in detail. You’ll be sure to avoid this if settling on a room with a North-facing window.
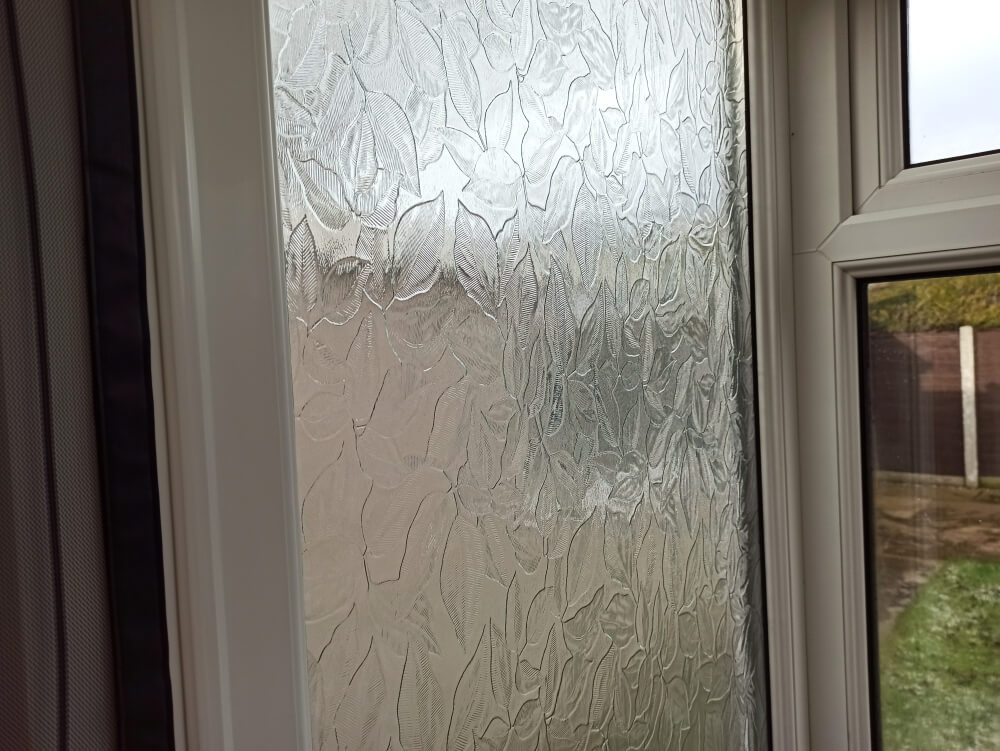
Any lightly overcast day will dissipate natural light quite evenly and nicely. If you have a lean-to, a conservatory or a fairly spacious room with a frosted window, the same effect can be achieved, so you can be a little more flexible with when you shoot, and aim intently for the middle of the day during winter, regardless of the weather conditions.
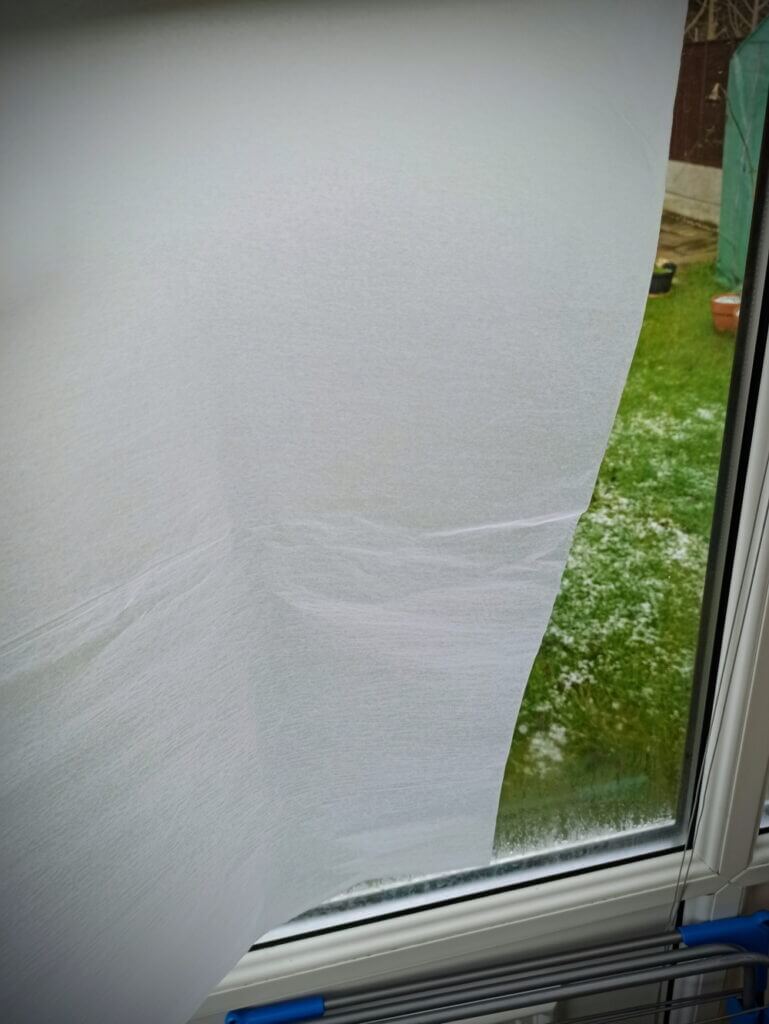
If this environment is still difficult to replicate, you can blue-tac a single leaf of large format tissue paper to the window, which will soften any direct sunlight passing through it.
3. Enhance the lighting conditions if needed.
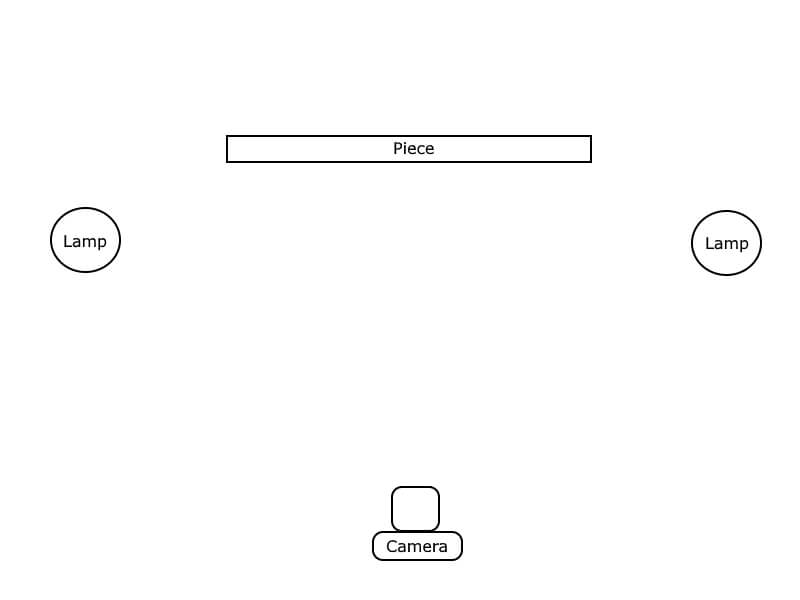
While in deepest winter, it can still be difficult to light the shooting area adequately. A lamp, positioned well and shaded to diffuse its light, can boost your chances of showing off your work. The pitfall: the temperature of light given off may not be particularly neutral, and you could brighten only one side of the work.
A couple of lamps giving off the same “temperature” of light and positioned either side of the piece will spread the light more evenly. Make sure, especially with graphite, painted and varnished works (anything with a sheen), that the lamps are positioned at an oblique angle to the work, to avoid glare.
Below is a bird’s-eye view of the setup described. Experiment with different lamp arrangements until the whole work is lit softly and evenly. Even a laptop or tablet with a bright colour “wash” across the screen can offer a good amount of diffuse light.
4. Stabilise your camera.
In the absence of a tripod, and you can build a stable, flat surface at the correct height, place your device on here, and lean it as securely as you can against something else that won’t move. Whether or not your device is expensive, be really careful here, as even pushing the shutter-release can cause a smartphone to topple.
This is NOT an ideal scenario, and while a tripod isn’t necessarily something already lying around the house, one can be bought cheaply.
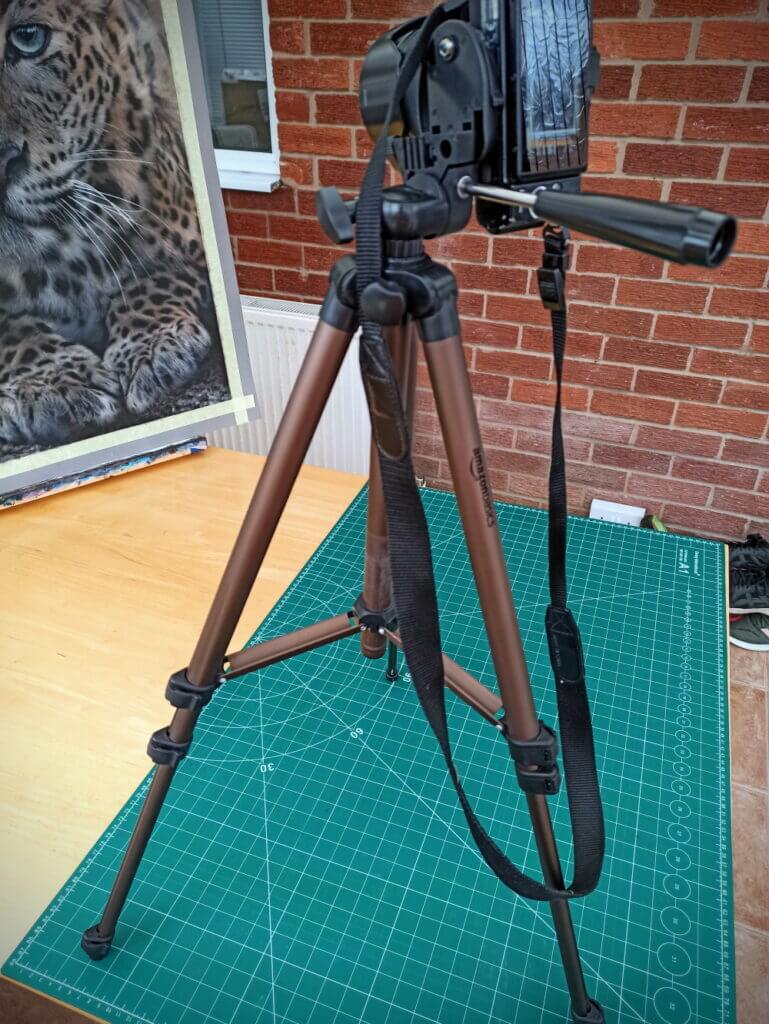
Bear in mind, the very cheapest ones will probably wobble a bit, but if you’re only intending to photograph your work, it’ll be good enough when using a countdown timer.
The timer will help you avoid camera shake while pressing down the shutter-release, so your photo is as sharp as possible. You’ll find the countdown timer setting somewhere on the front panel, often displayed as a “clock” symbol. Many smartphones are now equipped with this setting, too.
Also of particular use in any environment is a “gorillapod”, which can be manipulated to cling to not only flat surfaces, but various other stable objects. This is especially relevant if you’re short of space.
A tripod phone mount will also be necessary if you shoot with your smartphone.
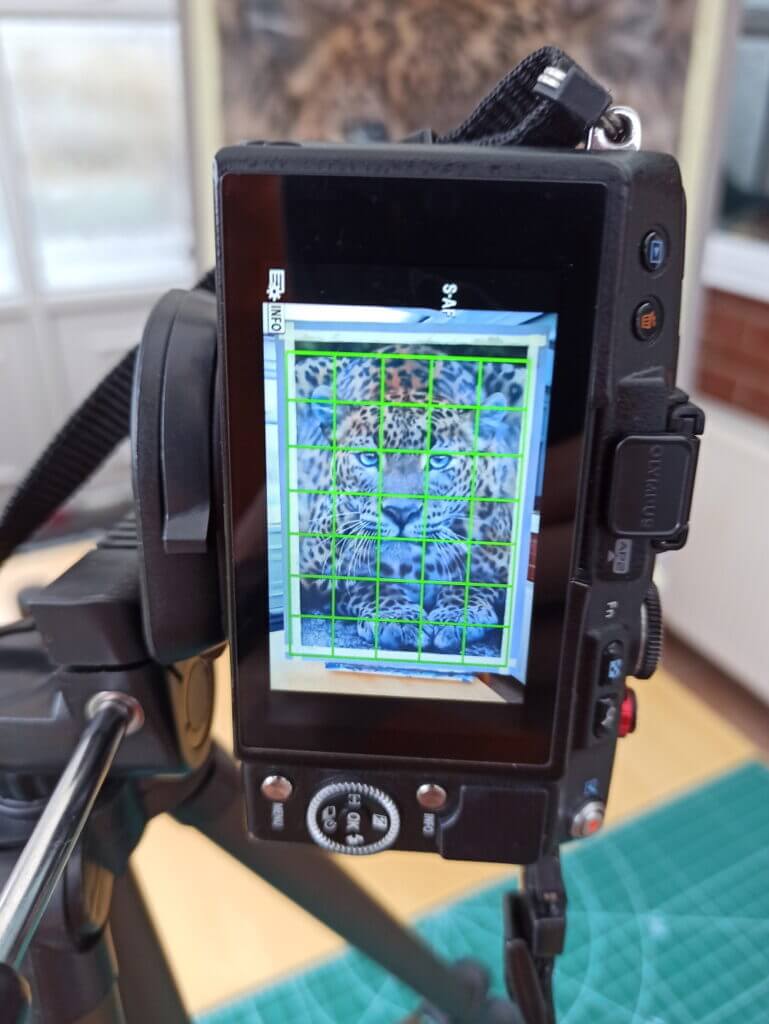
5. Lining up the work
Angle the camera slightly downwards onto the work. Make sure the camera is pointed directly at the centre of the work, and the imaginary line from camera-to-centre is perpendicular to the work in all directions.
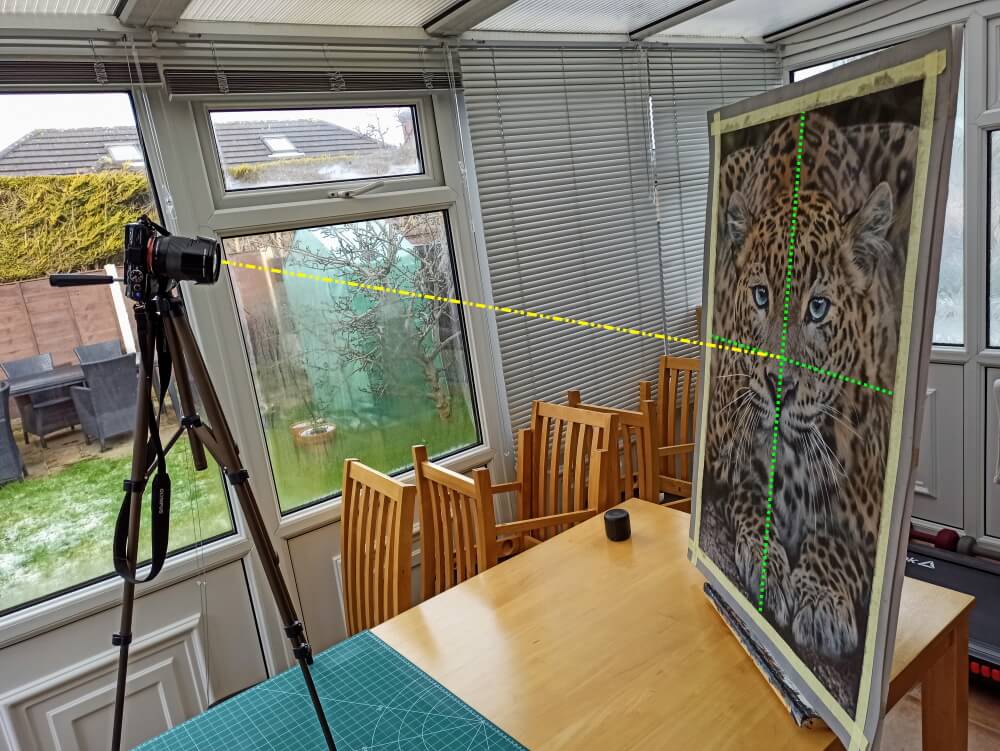
This will ensure the image of the piece is not skewed, sheared or distorted in any way. If your work is rectangular, that’s the shape you want to see!
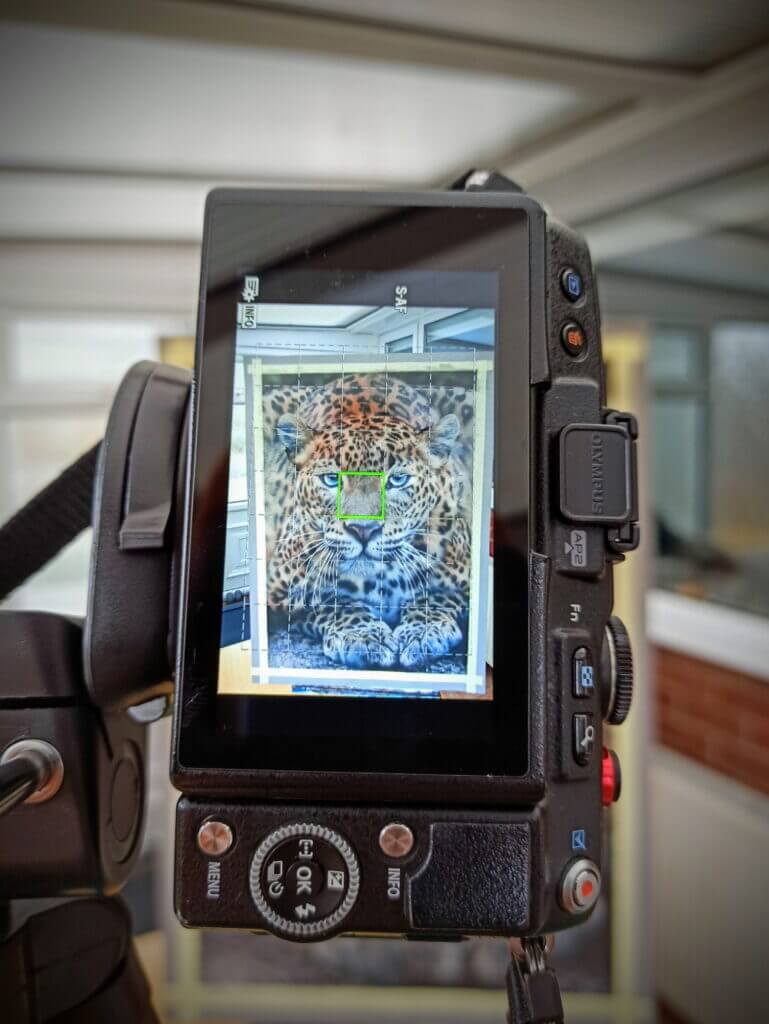
Most cameras offer the option of a dotted-line grid, as a guide to fine-tune the positioning.
6. Camera settings
If you have the power to manipulate certain variables, the aim is to keep the ISO value as low as possible, to avoid “noise” (graininess), and the aperture around f/11, to allow quite a lot of light onto the sensor.
Choosing “Aperture”/”A” mode will allow you to change the latter, and the ISO value can normally be changed independently.
The shutter speed will be selected automatically, appropriate to the conditions. If your device is completely stable while the shutter is open, the shutter speed won’t matter at all.
Edit (courtesy of Claire Heffron): a reminder that shooting in RAW mode gives the best possible resolution, and the facility to edit your photos non-destructively. This just means that the source file is never tampered with, and no information is lost. With RAW images, a “sidecar” file is created with all the edits you make prior to outputting as JPEG/TIFF etc, while the RAW file remains unchanged.
Also, with enough light available, the aperture value of f/5.6 is optimal with sufficient lighting conditions.
If you don’t have a tripod, or the ability to fashion a sturdy and reliable holder for your device, you’ll need to keep hold, while minimising camera shake. Hold it close to your body, hold your breath, and lean against something sturdy and secure (i.e. a wall).
Final thoughts
I’m sure I don’t need to say this, but if you routinely use professional photographers for work you’ll eventually put to print, you’ll know to exercise restraint, and WAIT for restrictions to be lifted. There really is nothing better than a professionally captured and processed image. If you’ve spent days or weeks on a piece of work, settling for a suboptimal environment and tools is to do yourself and your art a disservice.
However, when you’re in a bit of a spot and can only shoot at home, be creative with the tools at your disposal. Your image may not win any awards for faithful colour matching or high levels of detail, but sometimes, needs must.
Please post your own tips below if you have any that I’ve missed 🙂


One Comment