I was recently on the hunt for ideas about little freebies I can give to customers. I’d considered ordering a box of pens, for example, with my logo/website on it before realising I was straying into “merchandise” territory unawares. Before I know it I might be selling cushions, mugs, and the rest. If selling directly, I’d have a garage full of stock I’m constantly sitting on/tripping over! The farthest I’ve ever gone is greetings cards (all made in-house).
There’s nothing patently “wrong” with merchandise, it’s just not an avenue with which I’ve ever found myself aligned. Hanging in the back of my mind would be questions like “can I personally sign off on the quality?”, “am I ultimately just contributing to landfill?”, etc. Good for anyone who can assuredly address these problems, increase their brand awareness and add a revenue stream in one go.
I wanted to figure something out with a low environmental impact, reusable, slim and lightweight. Something whose quality I’d gladly put my name behind, and hand out to my customers.
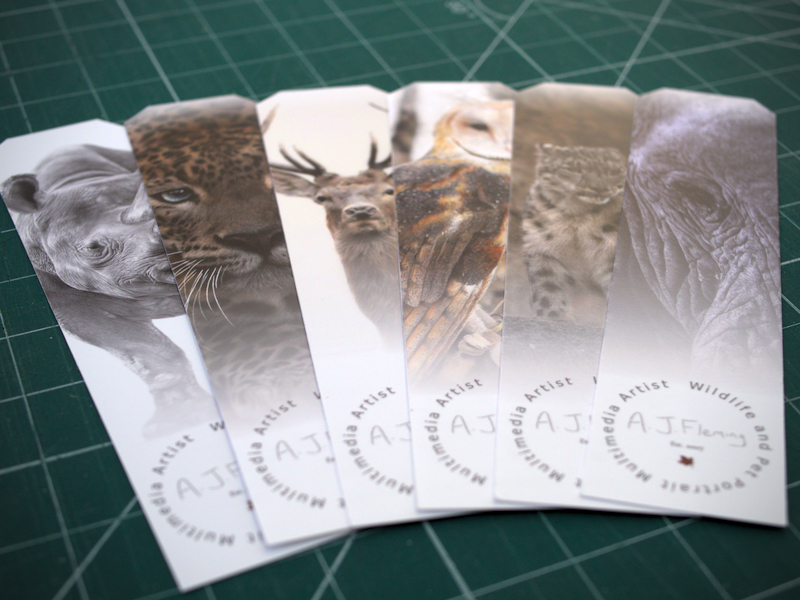
I have a fancy printer sitting there, always ready to be used, and bookmarks (however tokenistic) was an quite an obvious choice in the end. Here’s how I did it…
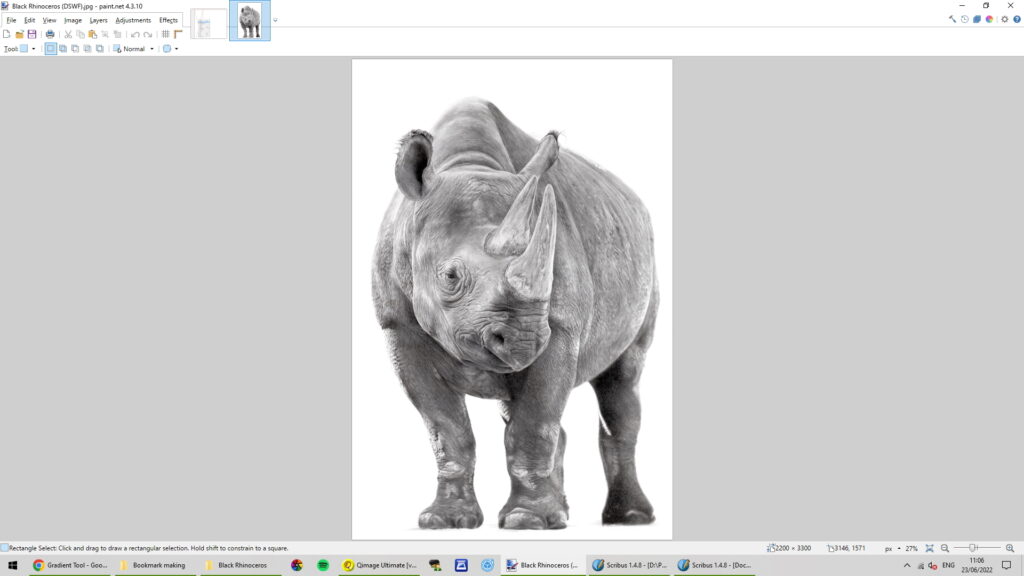
Main image
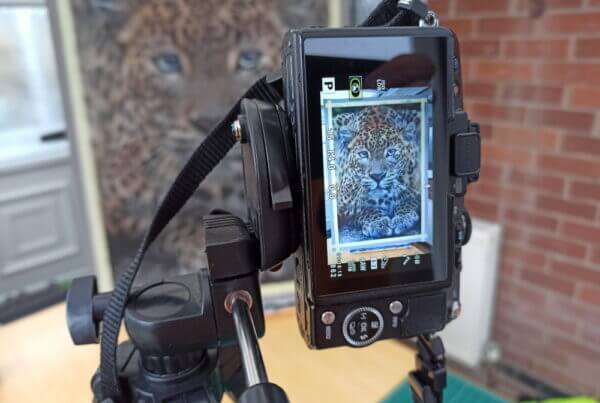
Download paint.net, and open a digital image of your work.
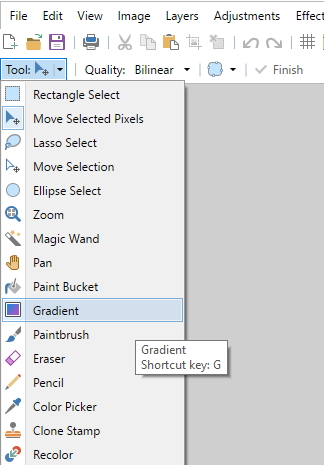
There are several ways we can manipulate our image. Here, I’m selecting the “Gradient” tool, which makes quite a nice finish.
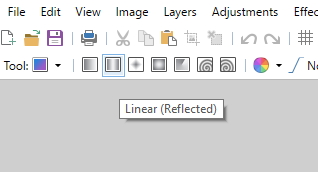
Choose “Linear (Reflected)”, and “Transparency Mode”.
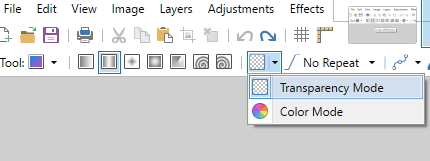
Click and drag your mouse from just above half way to just below half way. The chequered areas show graduated transparency.
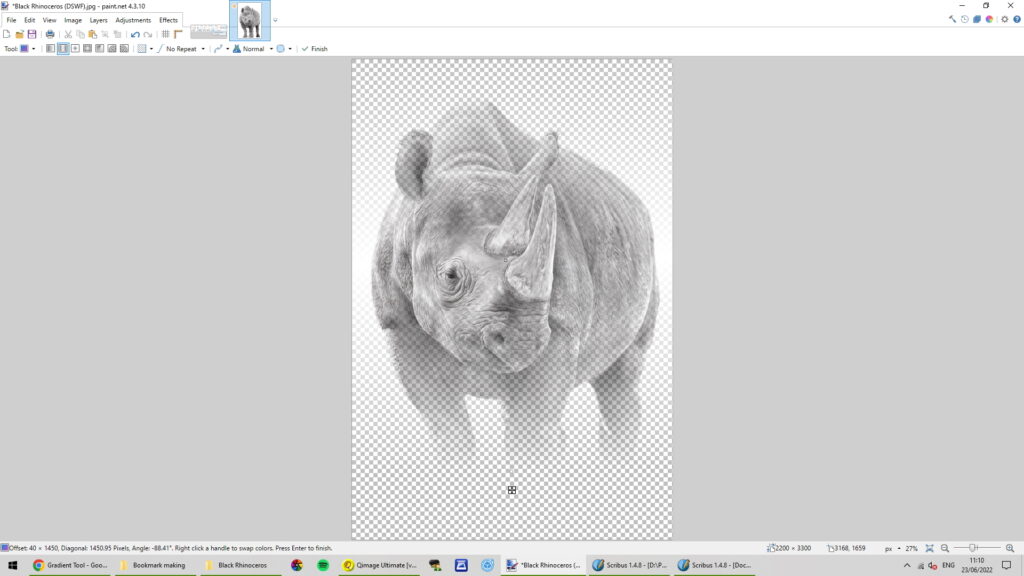
Save this as a jpeg.
Publishing
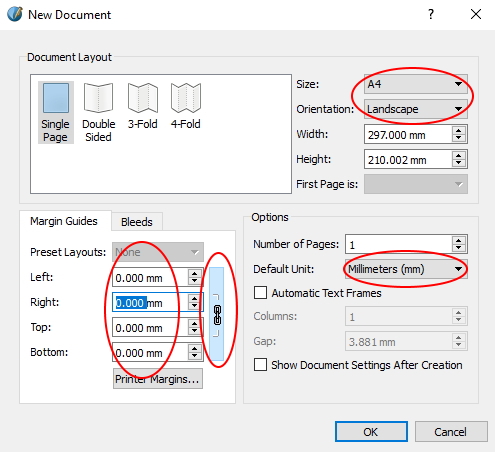
Download and open Scribus. Start a new document (A4, landscape, with no margins, and the default unit millimetres).
Insert an image frame.
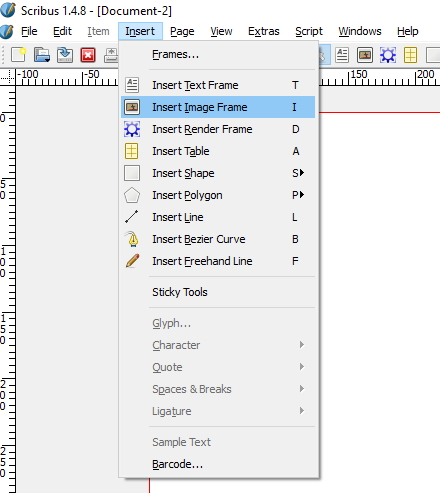
Click anywhere on the page to apply it. We’ll reposition it shortly.
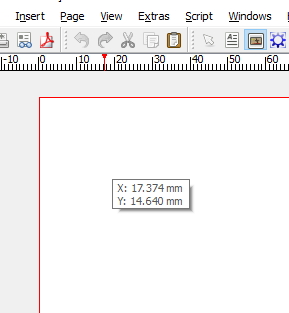
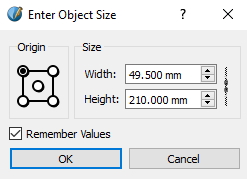
Use the dimensions shown. This allows 6 bookmarks on one piece of A4 paper with almost no waste.
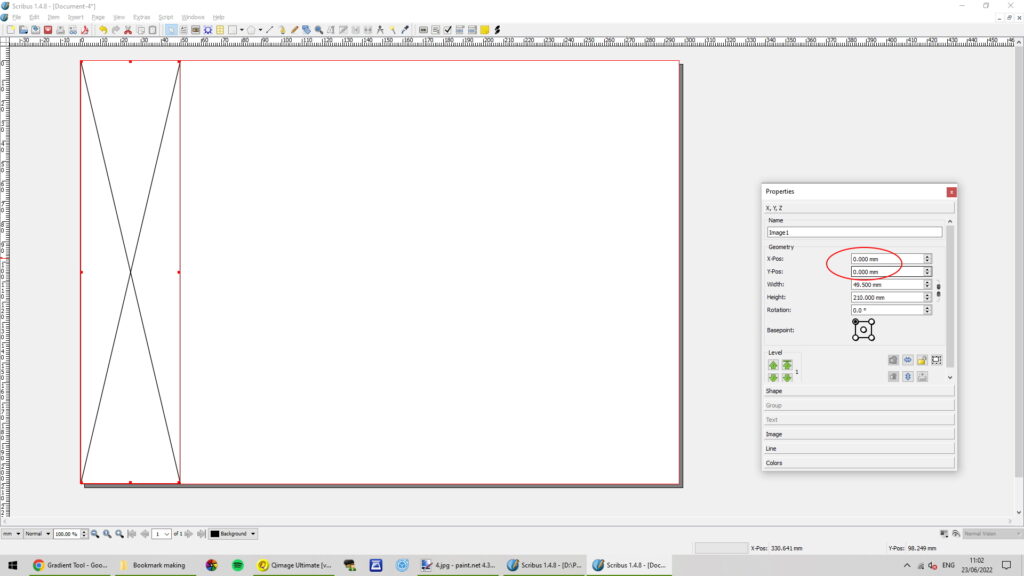
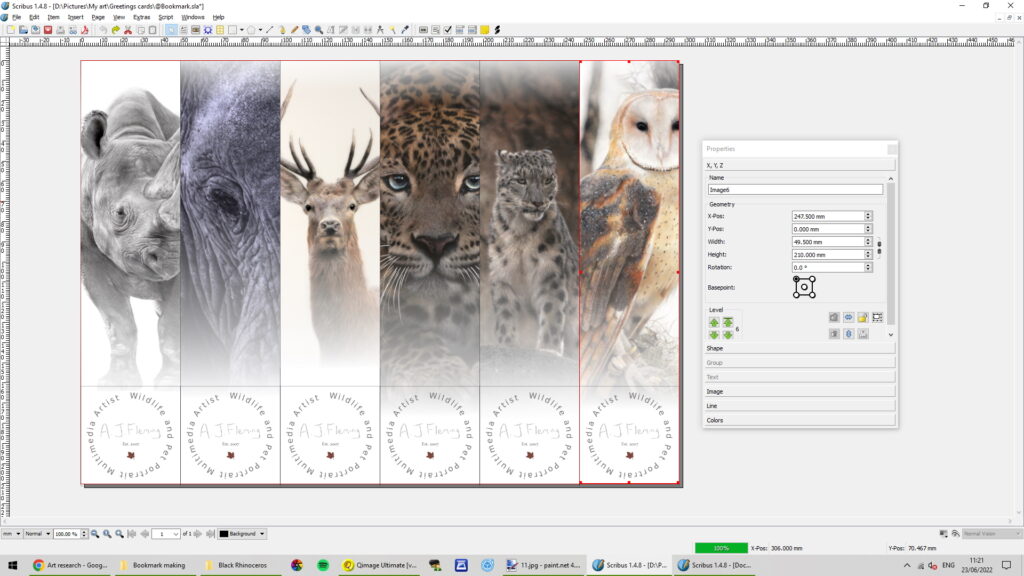
You now have a floating image frame. Press F2 to open the “Properties” box. Reposition the image frame with the shown x- and y- values.
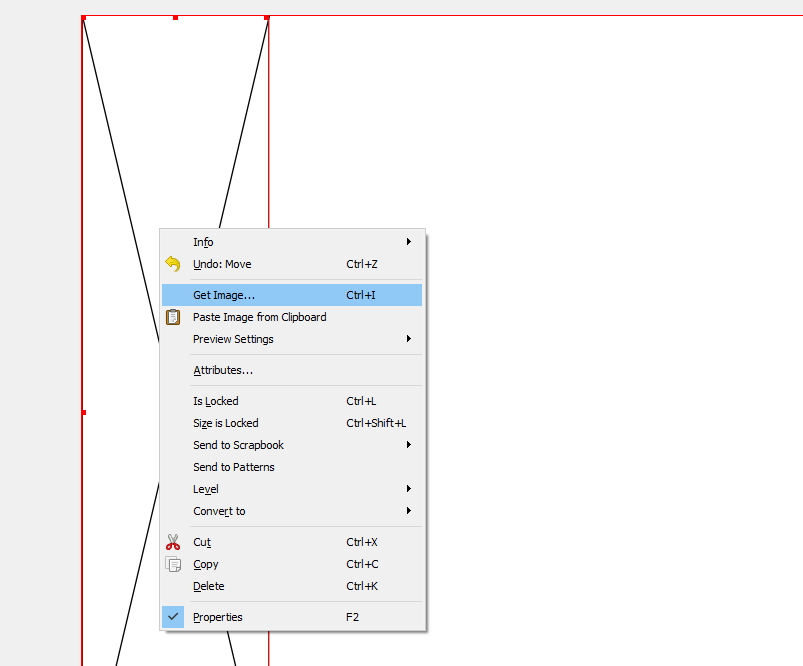
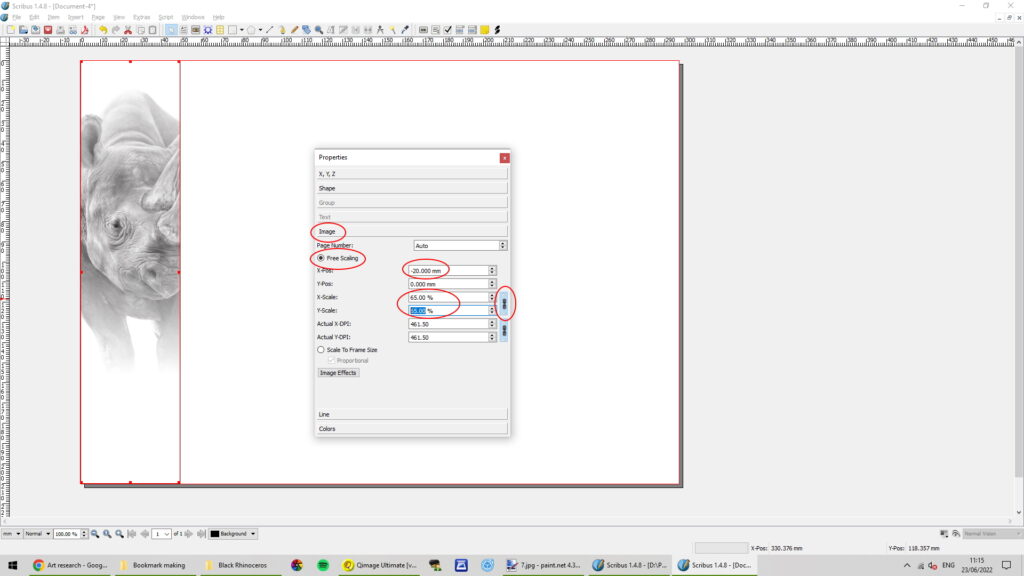
Right-click anywhere in the image frame, select “Get Image”.
Go to the “Image” tab of the Properties box. There is no scaling yet. “Scale To Frame Size” and “Proportional” wouldn’t do the job we need (feel free to try both) – we need to use free scaling and adjust as we go.
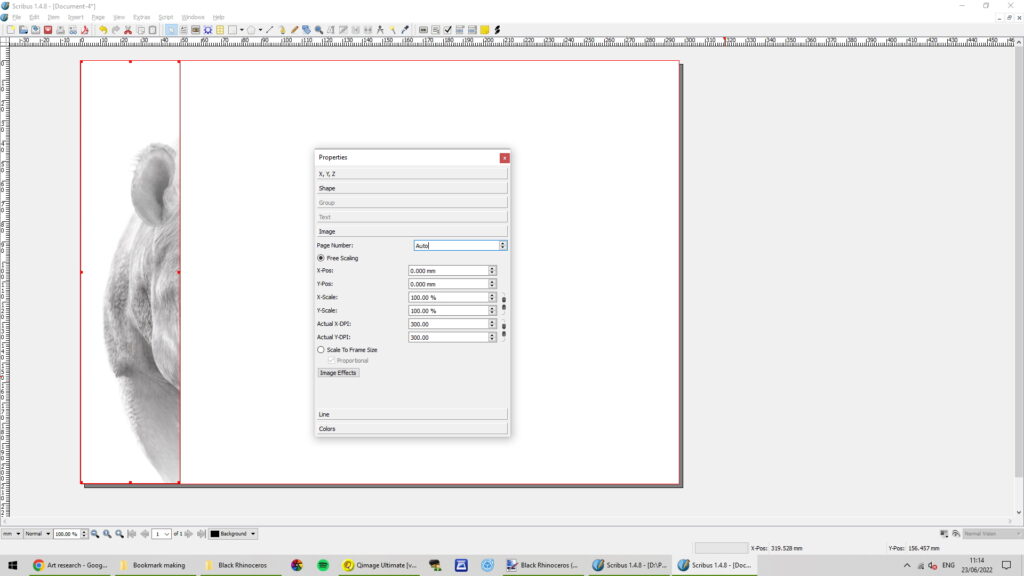
The circled areas show locked scales (to keep the image in proportion), with rough values applied. I’ve also shifted the image 20mm to the left, so I see the sliver of Rhino that works best for a bookmark.
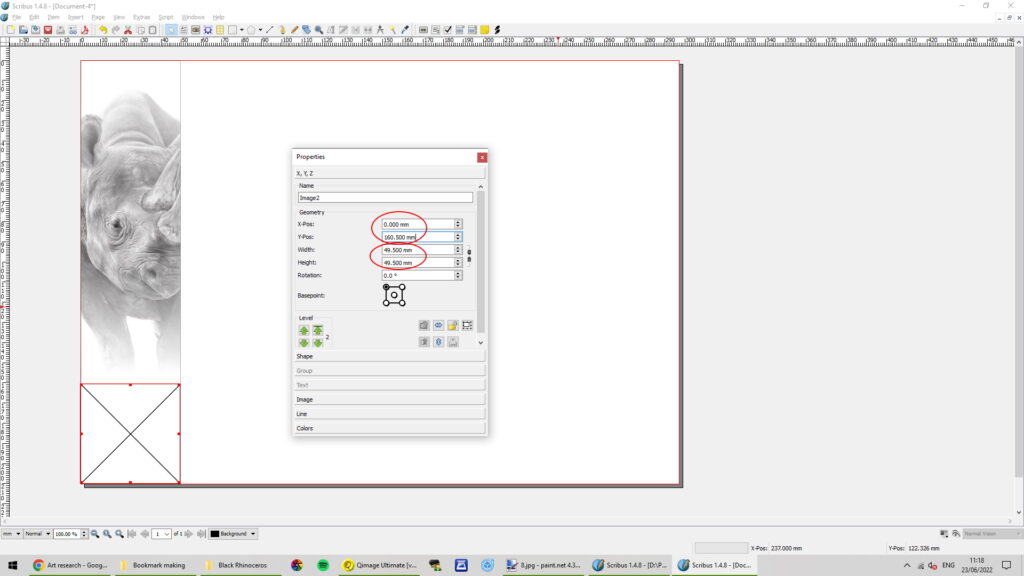
We now need a second image frame to overlay this. My logo is circular, so a square frame works nicely, and my logo will sit in the middle. Pay close attention to the position and dimensions of the image frame. A little simple arithmetic is needed to line it all up nicely, especially as we move across the page and add more.
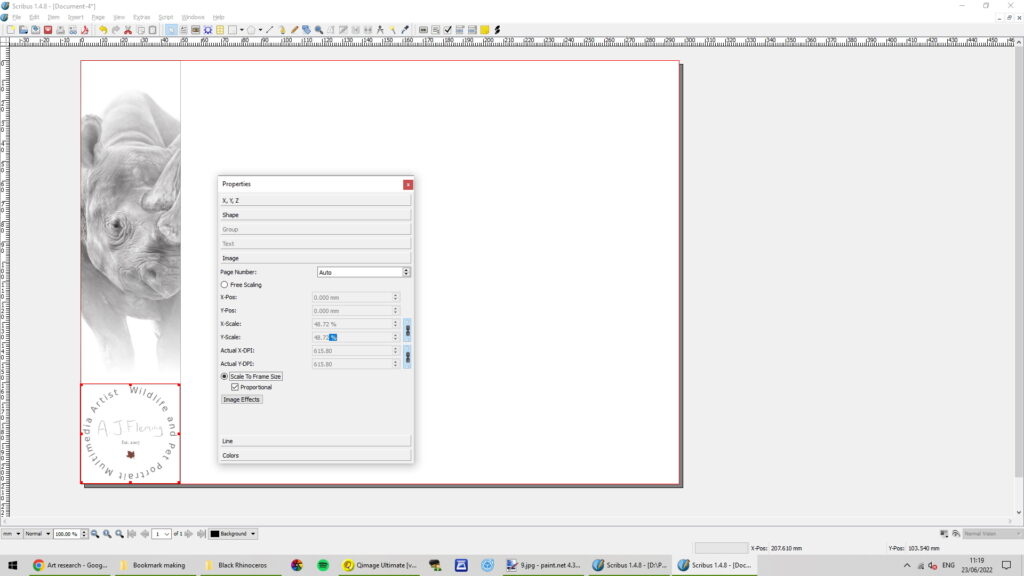
The logo has to be transparent in blank areas, so that the image underneath can show through. In paint.net, open/create your logo, select the “magic wand” tool, CTRL+select all blank areas, hit “DELETE”, then save as a “.png” file. This is a file type that allows us to store information about the transparency applied.
Back to Scribus: “Get image” again, and insert your logo.
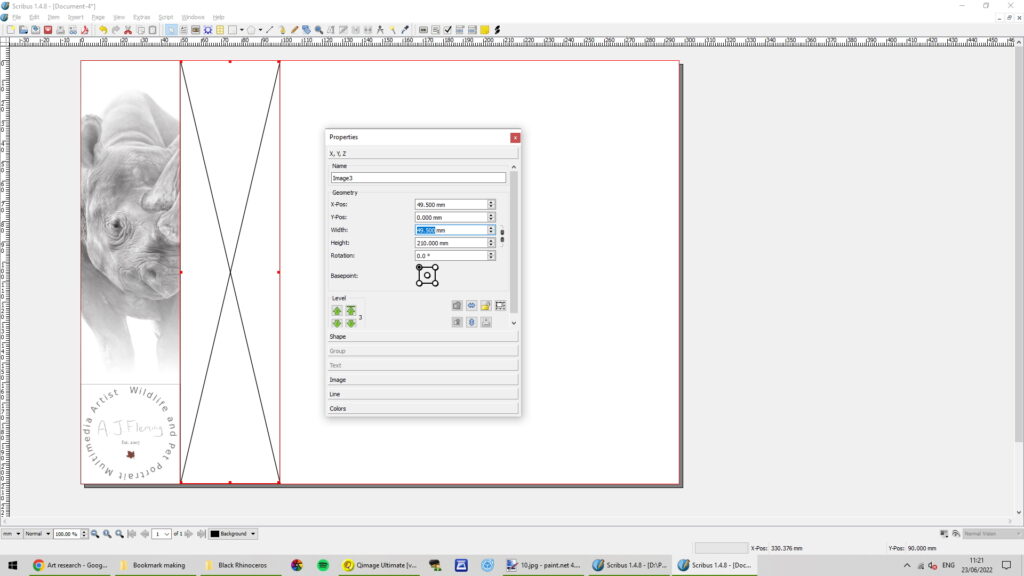
Repeat this entire process 6 times, with different images, and increase the x- value of each image frame by 49.5 each time.
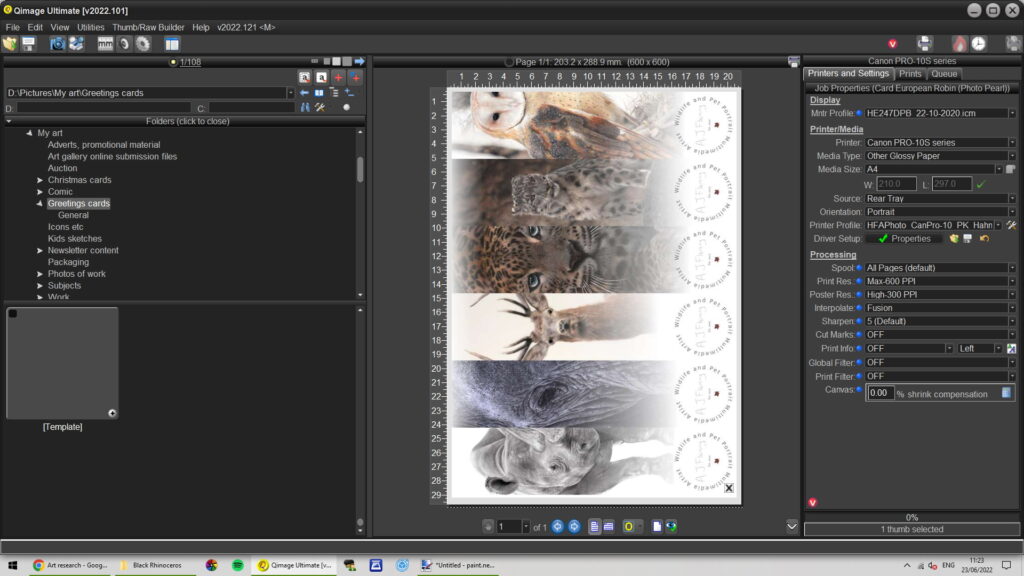
You now have an A4-sized bookmark project! Save it (.sla), so you can open the project and add different images at a later date if you wish. Export what you see on screen as a jpeg file to a folder of your choice. This is now ready to be printed.
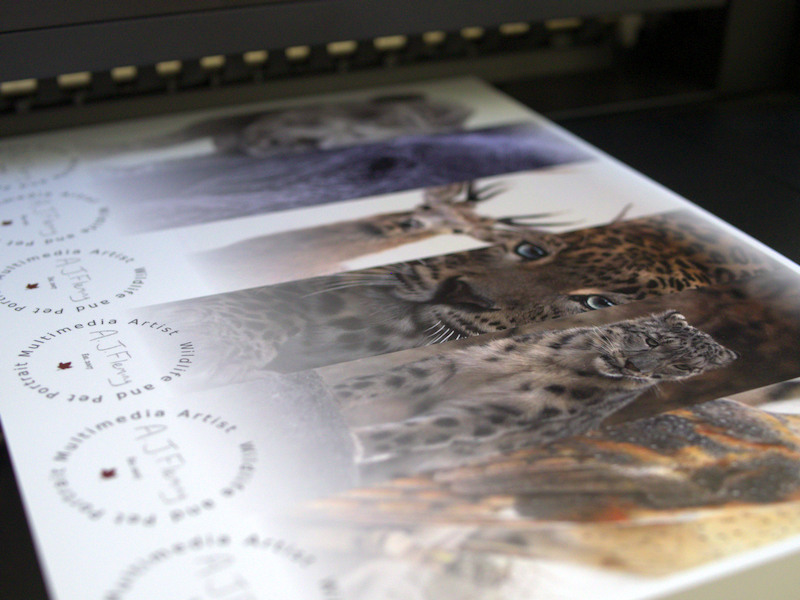
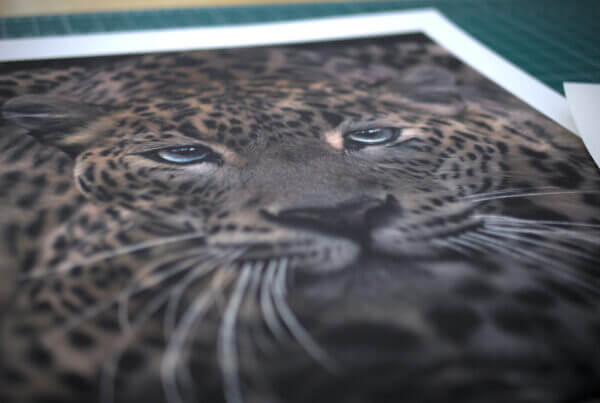
Open your jpeg file to full page in your printer software, and print. The paper choice is up to you – full gloss would be the most long-lasting. I have chosen a subtle gloss finish (Hahnemuhle Photo Pearl), which is an excellent quality paper, will stand up to regular use, and shows colours just as they would appear on my limited edition prints.
I left no room for error when cutting, as each image neighbours the last! You can leave yourself a little buffer if you like, by adjusting the image frame sizes and positions. I just kept it simple here.
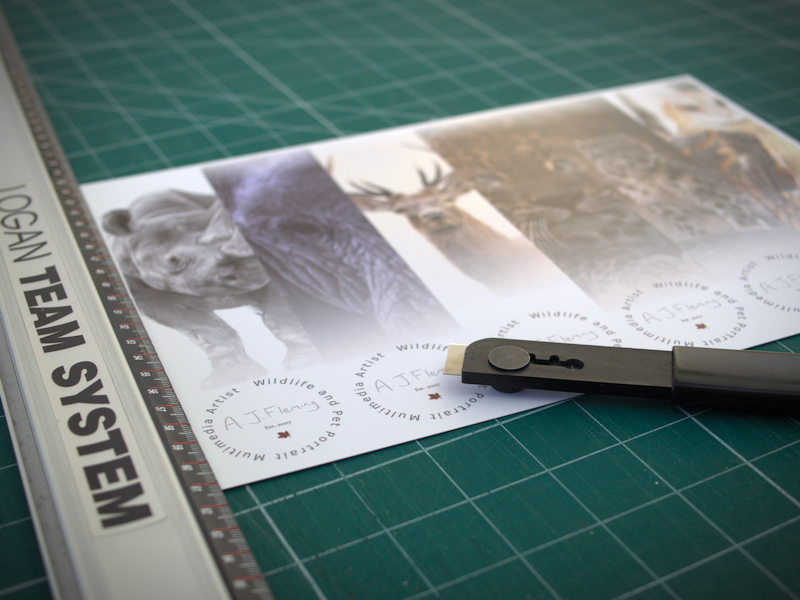
I tapered the top corners with scissors, hole punched, and tied a loop of string around each one.
So far, I haven’t adorned the bookmarks with my website address, or any “calls to action”. I want as few distractions from the image as possible.
There you have it! Something you can slip inside print tubes and other packages with no weight to them, made with very high quality materials, long-lasting, useful and environmentally friendly.
Your customers were all wondering how they could possibly love you more, and now you’ve given them another reason, eh? 🙂


Recent Comments